Common Technical Challenges in Achieving Consistent Anodized Colors

When you face many technical problems in achieving a consistent Anodized Coloring choice for anodized aluminum, it's crucial to ensure that the colors match perfectly. Having the same color is vital for maintaining quality and enhancing the aesthetic appeal of products. When selecting anodized aluminum, you must consider quality at every stage. Preparing the surface, choosing the right alloy, and controlling the process all contribute to the final quality. If you overlook quality checks, anodized aluminum can experience color variations that detract from its appearance. It's essential to monitor each step to maintain high quality. The Anodized Coloring choice you make for anodized aluminum significantly impacts its visual appeal and overall quality. By understanding every detail, you can improve the quality and make anodized aluminum stand out.
Key Factors in Anodized Coloring Choice
Alloy Selection and Material Limitations
You have to think about which aluminum alloy you pick for anodizing. Alloys have different amounts of things like magnesium, silicon, or copper. These things can change how the surface acts during anodizing. Some alloys make a smooth finish. Others can cause streaks or spots. Not every alloy can make every color you want. The porous surface of anodized aluminum lets you use dyes for colors like blue, black, and red. But some alloys do not take in dye evenly. This means your color choices are limited. If you want good color, start with an alloy that takes dye well and gives even results.
Alloys with lots of copper or silicon may show uneven colors.
Alloys made for buildings often give better color.
Pure aluminum usually makes the brightest and most even finish.
Surface Preparation Impact
You need to get the surface of anodized aluminum ready before you start. Good prep gets rid of dirt, oil, and other things that can mess up the color. If you skip steps or hurry, you might see streaks or dull spots. Here are some important steps for getting the surface ready:
Clean the aluminum in detergent and rinse tanks to remove oils.
Etch the part to make it shiny and smooth.
Remove tiny bits of metal to stop mistakes during anodizing.
Description | |
|---|---|
Alkaline Cleaning | Takes off oils and organic stuff using 2-4% sodium hydroxide at 140-160°F. |
Acid Etching | Uses a mix of nitric and hydrofluoric acid to take off natural oxide and make the surface even. |
Desmutting | Uses a nitric acid solution to get rid of aluminum smut for a surface that reacts the same way. |
Rinse Quality | Uses very clean water with less than 50 ppm solids to stop contamination. |
If you follow these steps, you can make your anodized coloring choice look better and more even.
Process Parameters in Anodizing
You can change how anodized aluminum turns out by adjusting key settings. These include current density, temperature, electrolyte concentration, and voltage. Each one changes how thick and what color the oxide layer is. If you do not keep these settings right, you might get streaks, patches, or dull colors. For the best results, you should watch and control these settings during anodizing.
Process Parameter | Optimal Range | Common Defect if Out of Range | Impact on Color Quality |
|---|---|---|---|
Current Density | 12-18 ASF | Uneven film thickness, burn | Color streaking, patches |
Temperature | 68-72°F (20-22°C) | Soft coating, poor adhesion | Dull colors, inconsistency |
Electrolyte Concentration | 15-20% H2SO4 | Film burn, poor formation | Color bleeding, fade |
Voltage | 12-20V | Arcing, uneven coating | Bright spots, discoloration |
You should also check for bad stuff in the electrolyte. If the bath has unwanted metals or chemicals, it can change the color and lower quality. Checking often helps you stop problems and keep your anodized coloring choice the same.
Electrolyte Chemistry and Control
You need to keep the chemistry of your electrolyte bath steady during anodizing. The bath usually has sulfuric acid and water. If the mix changes or gets dirty, you can get uneven color and bad quality. You should test the bath often and fix it if needed. Even small changes can affect the final color of anodized aluminum. Bad stuff can get in from dirty rinse water, leftover chemicals, or metal bits. You can stop these problems by using clean water and filtering the bath often. Good control of the electrolyte gives you better results and fewer mistakes in your anodized coloring choice.
Dye Application Methods
There are different ways to add color to anodized aluminum. The most common way is chemical dyeing, where you soak the part in a dye bath. This gives bright colors but does not last long in sunlight, so it is best for inside products. Electrolytic coloring uses metal salts to fill the pores of the oxide layer. This way gives fewer color choices, like bronze or black, but lasts longer outside. Dip coloring lets you pick many colors, but you must watch how long you leave the part in. Longer times and more dye make darker colors. Shorter times and less dye make lighter colors. Integral coloring does anodizing and coloring at the same time, making strong bronze and black finishes. Interference coloring uses special tricks to make colors like blue, green, yellow, and red that do not fade easily.
Dip coloring lets you change the shade by changing the time in the dye.
Electrolytic coloring gives you finishes that last in sunlight.
Chemical dyeing gives you many colors but works best inside.
You also need to watch for bad stuff in the electrolyte during dyeing. Contaminants can change the final color and make the quality worse. Careful control at every step helps you get the color and quality you want in anodized aluminum.
Anodizing Coloring Defects and Root Causes
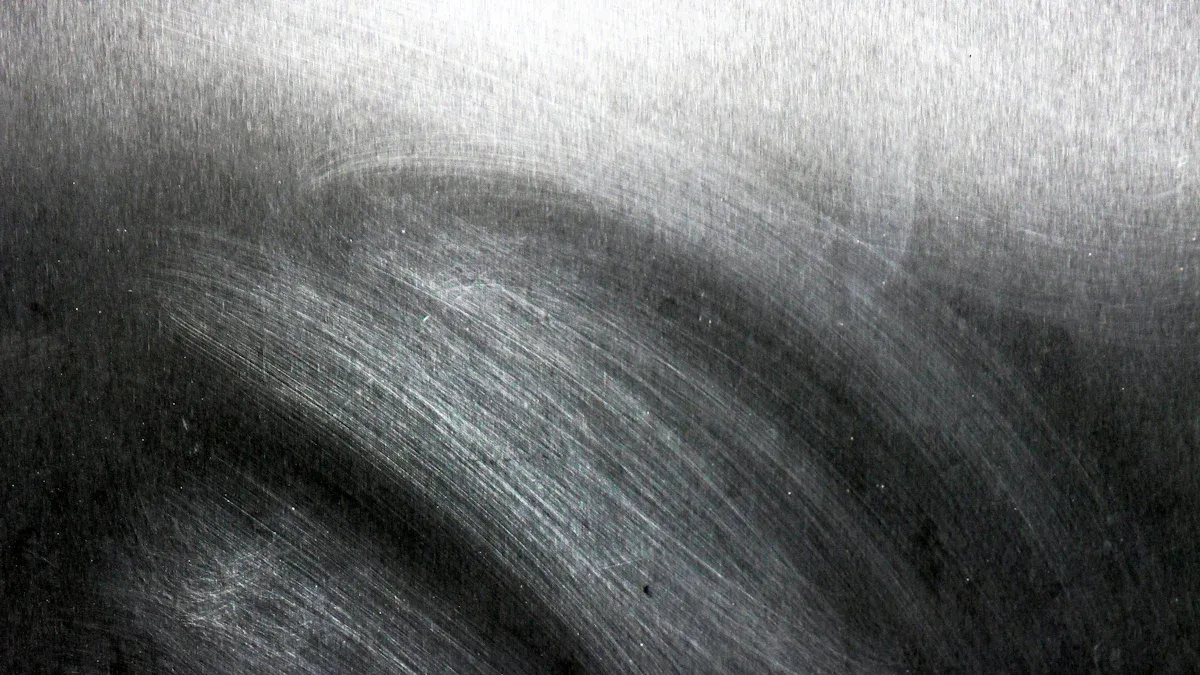
When you use anodized aluminum, you want all parts to match. Sometimes, colors or finishes look wrong. These problems are called anodizing coloring defects. You need to know why these defects happen. If you understand the causes, you can fix them. This helps your anodized aluminum look better.
Color Mottling and Streaks
You might see spots or lines on anodized aluminum. These are common defects. Color mottling means you see patches with different shades. Streaks are lines that go across the surface. These defects make your product look uneven. They also lower its quality.
The main reasons for color mottling and streaks are:
Cause | Description |
|---|---|
Makes the film thickness uneven. This causes differences in oxide formation. | |
Surface preparation failures | Patchy color and streaks happen from contamination or poor cleaning. |
Electrolyte contamination | Changes how color is absorbed. It affects the finish quality. |
To stop these defects, you must control your process. Keep the current steady during anodizing. Clean every part well before starting. Keep your electrolyte bath clean. Here is a table that shows how to stop streaking:
Issue | Root Cause | Prevention Strategy |
|---|---|---|
Streaking | Inconsistent current density | Improve solution circulation |
or solution agitation | Keep spacing uniform | |
Use a better agitation system | ||
Adjust rack spacing |
These strategies help reduce defects and improve quality. Finding defects early helps you fix problems fast.
Batch-to-Batch Shade Variation
Sometimes, one batch of anodized aluminum looks different from another. This is another defect. Batch-to-batch shade variation happens when your process changes. Even small changes can cause big color differences.
The main reasons for this defect are:
Using different alloys in each batch.
Changing temperature or time during anodizing.
Dye bath is not clean or strong enough.
Not following the same surface preparation steps.
You can stop this defect by using the same materials and process every time. Write down your steps and check your equipment often. This keeps your quality high and your anodized aluminum looking the same.
Tip: Always test a sample from each batch before finishing the whole order. This helps you find defects early.
Incomplete Dye Absorption
Sometimes, anodized aluminum does not take in dye fully. This is called incomplete dye absorption. You may see light spots or faded areas. This defect lowers your product’s quality.
The main reasons for incomplete dye absorption are:
The oxide layer is too thin or thick.
The dye bath is too cold or hot.
The part does not stay in the dye bath long enough.
The surface is not clean before dyeing.
You can fix this defect by checking the oxide layer thickness. Keep the dye bath at the right temperature. Clean the surface well before dyeing. Follow the right timing for each step. Finding defects early helps you fix them fast.
Surface Contamination Effects
Surface contamination causes many anodizing coloring defects. If you do not clean the surface well, you may see spots, streaks, or dull colors. These defects make your anodized aluminum look bad. They also lower its quality.
The main reasons for surface contamination are:
Oil or grease left on the surface.
Dust or metal particles stuck to the part.
Dirty rinse water after cleaning.
You can stop these defects by using good cleaning steps. Use clean water for rinsing. Check your parts for dirt before anodizing. Clean parts give you better quality and fewer defects.
Note: Surface preparation failures are a major reason for anodizing coloring defects. Always pay attention to cleaning and rinsing.
If you know the causes of these defects, you can improve your process. You will get better quality and more consistent anodized aluminum. Finding and stopping defects keeps your products looking great.
Technical Limitations and Quality Considerations
Dimensional Changes from Anodizing
Anodizing makes parts a little bigger. This happens because a new oxide layer forms on the surface. The thickness depends on the anodizing type. Some types add a thin layer. Others add a much thicker layer. If your parts need to fit together closely, even small changes matter. Here is a table that shows how much size can change:
Anodizing Type | Typical Thickness (µm) | Affects Critical Dimensions? |
|---|---|---|
Type I | 0.5–1 | Minimal |
Type II | 5–25 | Moderate |
Type III (Hard) | 25–150 | High |
You should plan for these changes. If you do not, parts may not fit or work right. This is a big limitation of anodizing.
Alloy Restrictions and Color Range
Not every alloy can make every color. The base material, temperature, and time all change the final color. Even the way a part sits in the dye tank can change the shade. You might see different colors in the same batch. Small bits of other metals in the alloy can cause uneven color. Here are some reasons why alloy limits your color choices:
The base material changes how the dye looks.
Temperature and time in the dye tank matter.
Parts can show different shades, even in one batch.
Impurities in the alloy can cause uneven dye absorption.
Pick the right alloy for the color you want. This helps you avoid problems and get better quality.
Anodizing Type (I, II, III) Boundaries
There are three main types of anodizing. Each type gives you different colors and strength. The table below shows what each type can do:
Anodizing Type | Coating Thickness | Achievable Color Range | Durability Characteristics |
|---|---|---|---|
Type I (Chromic) | 0.5-2.5 µm | Clear to faint gray/green (not easily dyed) | Minimal porosity, used for tight tolerance fits |
Type II (Sulfuric) | Medium thickness | Clear/Silver, Black, Red, Blue, Gold, Green, Violet (not pure white) | Moderate durability, suitable for aesthetic applications |
Type III (Hardcoat) | 25-150 µm | Dark gray/brown-gray, Black, Military Green (no bright colors) | Highest hardness, extreme abrasion resistance |
You need to pick the right type for your job. Some types give more color choices. Others are stronger and last longer. If you pick the wrong type, you might get defects or weak parts.
Cost and Repair Challenges
Anodizing can cost more than other finishes. The process needs special tools and careful checks. If you find a problem, fixing it is hard and can cost a lot. Sometimes, you cannot fix mistakes after anodizing. This is a downside of anodizing. If you want to change the color or fix a scratch, you may need to start over. This takes more time and money. You should plan for these problems to keep quality high.
Tip: Always check your parts before anodizing. This helps you avoid expensive mistakes and repairs.
Quality Control in Anodizing
You need good quality checks to stop defects and keep your products looking nice. Many ways help you check quality at every step. Here is a table that shows some of the best ways:
Quality Control Method | Description |
|---|---|
Robust Quality Control Systems | Prevent defects from reaching customers and provide early warning of process problems. |
Statistical Process Control (SPC) | Uses control charts to track key variables over time, identifying trends before they become issues. |
Incoming Material Inspection | Verifies alloy, assesses surface condition, and checks dimensions to ensure quality. |
In-Process Monitoring | Monitors current density, temperature, and bath chemistry to maintain process integrity. |
Final Product Verification | Measures coating thickness, color, adhesion, and corrosion resistance to ensure product quality. |
You should use these checks to find problems early. Good quality control helps you make better anodized products and keeps customers happy. If you skip these steps, you may get more defects and lower quality. This is another downside of anodizing.
Prevention Strategies and Troubleshooting
Standardizing Process Parameters
You can use some steps to keep the anodizing process steady. Setting the same rules for current, temperature, and chemicals helps stop mistakes. When you write down each step, you make sure every batch is the same. This makes your results easier to guess. You should check your settings often and change them if you see problems. These steps help you get better quality and fewer mistakes.
Material Traceability
Material traceability is a great way to stop problems in anodizing. You need to know where each batch of aluminum comes from. If you track your material, you can find problems faster. This helps you figure out why defects happen. Use labels and records to follow each batch. Good tracking helps you fix problems and makes it easier to compare batches.
Optimizing Surface Preparation
Making sure the surface is clean is very important. Clean parts have fewer mistakes and look better. You should always use the same cleaning steps for every part. Check for dirt, oil, or metal dust before you start. Good cleaning is one of the best ways to stop problems. Checking your cleaning steps often keeps your quality high.
In-Process Quality Monitoring
Watching the process while it happens is a strong way to stop mistakes. You can use real-time checks to find problems early. This helps you keep the process under control and lowers mistakes. Here is a table with some ways to watch the process:
Monitoring Technique | Description |
|---|---|
Current Density Verification | Check every 2 hours with calibrated ammeters to keep conditions optimal. |
Temperature Logging | Keep temperature within ±0.5°F during the anodizing process. |
Bath Chemistry Testing | Test sulfuric acid, pH, and contamination levels often. |
Visual Inspection | Inspect at each step under the same lighting to spot defects. |
You can also use these ideas:
Current density control systems change settings to stop mistakes.
Temperature systems keep heat steady for the same color.
Chemical feed systems add chemicals to stop color changes.
These steps help you keep the process steady and make the quality better.
Operator Training and Documentation
Training workers is very important for stopping mistakes. Workers who know what to do can find problems and fix them. You should teach your team about the process, how to check parts, and how to stop mistakes. Writing down each step helps you find and fix problems faster. Training and good notes help you reach your quality goals.
Case Studies: Achieving Consistent Anodized Colors
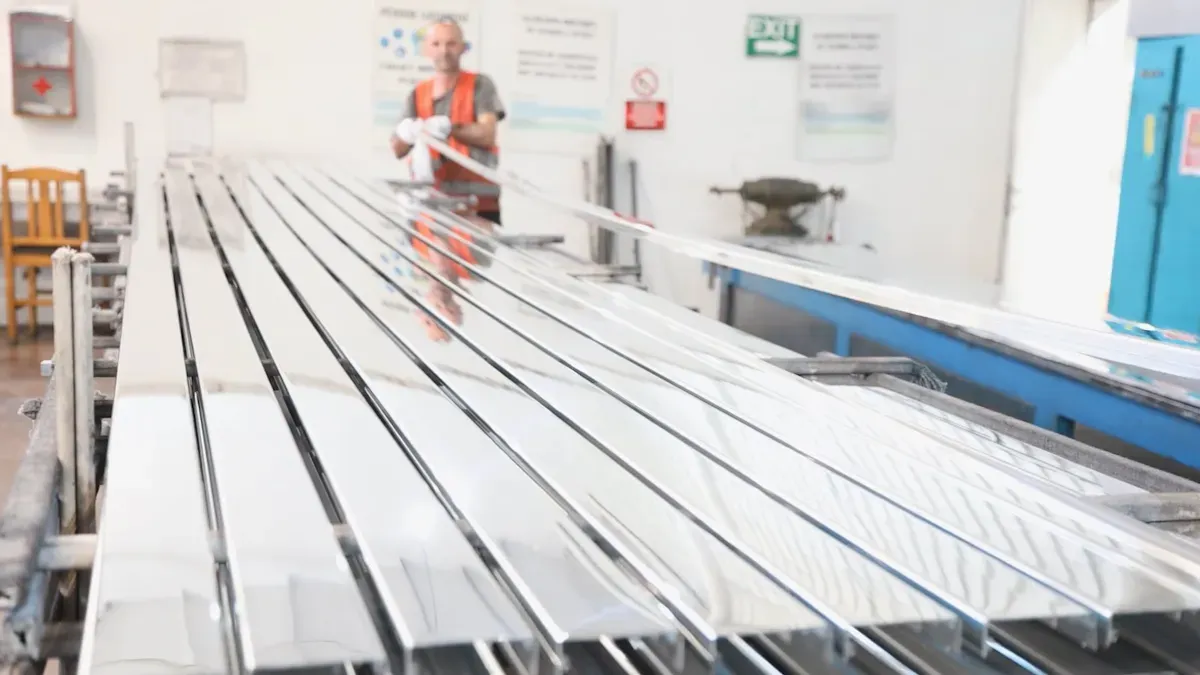
Managing Alloy Variability
You can get defects if you use different aluminum alloys. Each alloy acts differently when you anodize it. To make quality better, you need to stop problems before they happen. One company used only one alloy for all batches. This helped them get fewer defects. They wrote down details for each batch and checked the alloy first. You can use a table to keep track of alloy types and results:
Alloy Type | Number of Defects | Prevention Steps Used |
|---|---|---|
6061 | 2 | Batch tracking, surface cleaning |
5052 | 5 | Batch tracking, extra cleaning |
The table shows that prevention steps help lower defects. If you use the same alloy every time, you get better quality.
Controlling Process Fluctuations
You can stop defects by keeping process settings steady. One team saw that changing the temperature made color problems. They set timers and checked the bath every hour. They used prevention steps like testing often and changing current. You can use a checklist to help prevent defects:
Check temperature every hour.
Test bath chemistry every day.
Change current density when needed.
Prevention helps you find defects early. You get better quality by keeping your process steady.
Implementing Quality Control Systems
You can use quality control systems to find defects before customers get the product. One factory used prevention steps at every stage. They checked parts by looking, measuring thickness, and checking color. You can use a table to show how quality control systems help:
Step | Prevention Method | Defects Found |
|---|---|---|
Incoming inspection | Alloy check | 1 |
In-process check | Temperature log | 2 |
Final check | Color measurement | 0 |
The table shows that prevention and quality control work well together. You find defects early and make quality better. If you use prevention at every step, your anodized colors stay more consistent.
You have many problems when you want the same anodized colors. You need to know how materials and steps change the results. You can use prevention at each step to make color better. You should focus on cleaning, process control, and watching the process. Prevention helps stop streaks, color changes, and contamination. Here is how factories use prevention:
Manufacturer Type | Challenge | Prevention Actions Taken | Results |
|---|---|---|---|
Automotive Components | Color streaking | Improved contacts, stronger pumps, automatic checks | |
Architectural Hardware | Batch color variation | Controlled temperature, daily checks, matched colors | More parts accepted |
Electronics Housing | Electrolyte contamination | Removed copper, regular maintenance, checked for contamination | Less scrap made |
You should give prevention tips to your team. Using prevention every day makes anodized products better.
FAQ
What causes color differences in anodized aluminum?
You see color differences when the alloy, surface prep, or process settings change. Even small changes in temperature or chemicals can affect the final color. Always use the same materials and steps for the best results.
How can you fix streaks or spots on anodized parts?
You should check for dirt, oil, or uneven cleaning. Clean every part well before anodizing. Use steady current and keep the bath clean. If you see streaks, review your process and adjust your cleaning steps.
Can you re-anodize parts with poor color?
You can strip the old anodized layer and start again. Use a caustic solution to remove the coating. Clean the part well before re-anodizing. This process may not work for every part, so test first.
Why do some colors fade faster outdoors?
Some dyes do not resist sunlight well. You should use electrolytic coloring or UV-resistant dyes for outdoor parts. These methods last longer and keep colors bright.
How do you check color consistency between batches?
You can use a color meter or compare parts under the same light. Keep records of your process settings. Test a sample from each batch before finishing all parts.
See Also
Exploring The Advantages Of Black Anodized Aluminum
Anodizing Explained: Its Role In Die Casting Products
Essential Inspection Methods For Surface Treatment Quality Control
Enhancing Durability Of Diecast Products Through Electroplating
Top 10 Surface Finishing Techniques For Metal Products
About Hunan Puka

Established in 2016 and based in Hunan, China, with a liaison point in Berlin, we are a Tier 2 supplier for the automobile industry. We specialize in the production of customized aluminum die-casting parts designed for machines with a closing force ranging from 280 to 1250 tons, with subsequent manufacturing process CNC machining and surface treatment. Our commitment to quality is reflected in our accredited quality management system, certified by ISO9001:2015 and IATF16949:2016 standards.