How to Use Threaded Inserts in Aluminum Die Casting

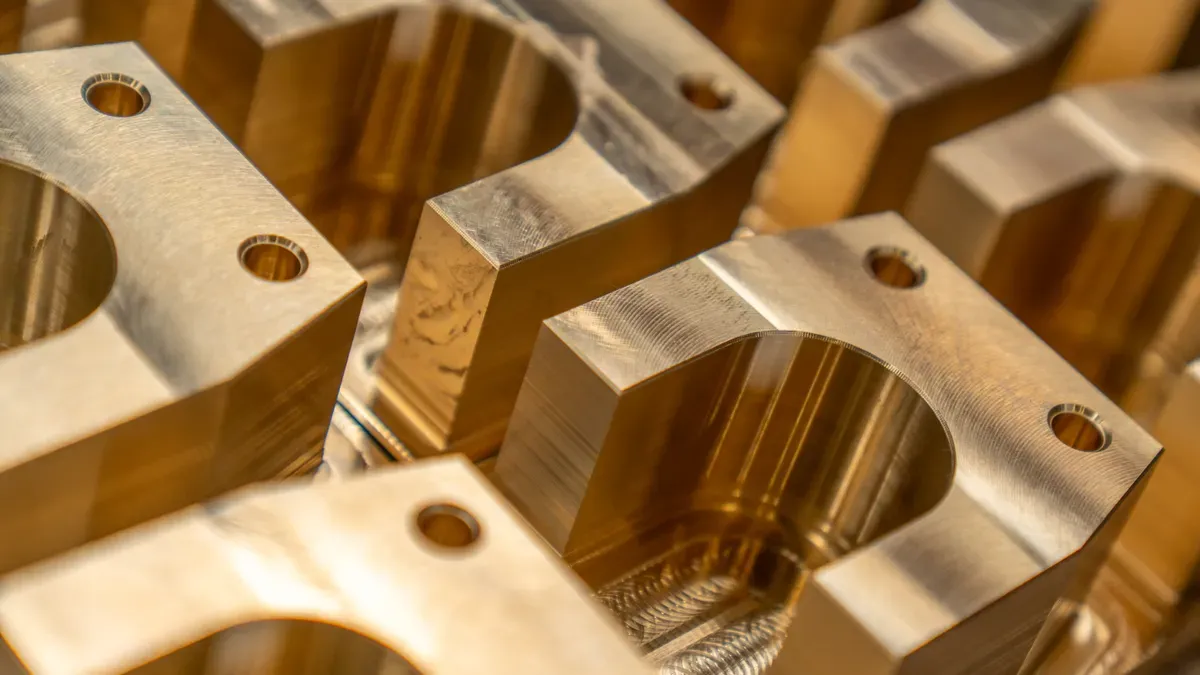
Aluminum die castings feel light and strong. Yet their threads often fail. The metal is soft. A bolt under load or vibration can strip the threads right out of the hole. You face a real risk of loose parts or leaks. Threaded inserts solve this problem. They give you strong, durable threads that hold tight in die-cast components.
You must choose the right insert type for your job. Prepare the casting with care. Install each insert correctly. Then you avoid common pitfalls that ruin the assembly. This guide shows you how.
Threading Options for Die Castings
Direct Tapping vs. Machined Threads
To make threads directly in aluminum, you have these basic options. You can tap the as-cast hole or machine the thread with a cutting tool. Direct tapping is fast and cheap, but aluminum is soft. A tapped thread in die-cast aluminum strips easily under load or vibration. It also wears out after repeated assembly and disassembly. So direct tapping is a poor choice for any joint used often or under high stress.
Machined threads are more precise than tapped threads. A CNC machine cuts the thread to a tighter tolerance, improving fit and alignment. But the metal underneath is still soft aluminum. The thread can still strip if you tighten the bolt too much or the joint carries heavy repeated loads. For bearing chambers and sealing threads, direct tapping and simple machining are not reliable enough. These critical features need a different solution.
Wire Thread Inserts vs. Cast-In Inserts
Wire thread inserts, often called Helicoil, go into a tapped hole. They create a harder thread inside, so the hole resists stripping. Their small size lets you use them in thin walls. They handle moderate loading cycles well too. But they do not seal against leaks. For fluid or gas applications, you need to add a separate sealing method.
Cast-in inserts go into the mold before the metal pours. They bond to the casting and make high-stress areas stronger. They also reduce shrinkage porosity around the insert. That makes them ideal for bearing chambers and sealing threads. They handle high loading cycles and have excellent pull-out strength. The downside is higher cost and a more complex casting process. Save cast-in inserts for jobs where production volume and function justify the expense.
The table below compares these options on key factors.
Option | Loading Cycles | Precision | Wall Thickness | Leak Risk |
|---|---|---|---|---|
Direct tapping | Low | Low | Thin walls OK | High |
Machined threads | Medium | High | Thin walls OK | Medium |
Wire thread inserts | Medium | Medium | Thin walls OK | High |
Cast-in inserts | High | High | Needs thicker wall | Low |
Selecting Threaded Inserts for Die Castings
Press-Fit and Self-Tapping Inserts
Press-fit inserts are a quick and dependable choice for die-cast aluminum. You put them in with a normal press. The press-fit insert line works this way. You push the insert into a hole that is already made. The press pushes the insert into place. You do not need a tapping step.
The outside of a press-fit insert has coarse knurling. This knurling is very important. The knurl bites into the soft aluminum wall. It stops the insert from turning or pulling out. A smooth insert would slip when torque is applied. The coarse knurl makes a mechanical lock that holds tight. You get strong resistance to vibration and turning forces.
Self-tapping inserts give you another way. These inserts cut their own threads as you drive them into a pilot hole. You skip the separate tapping step. The insert makes a matching thread in the aluminum. This works well when you want a strong thread without a pre-tapped hole. The insert material must match the host metal. Stainless steel inserts work well in aluminum because the metals have similar traits. Poor material matching can cause galvanic corrosion or weaken the joint.
Molded-In and Heat-Set Inserts
Molded-in inserts go into the die before the metal pours. The molten aluminum flows around the insert. This makes a strong bond between insert and casting. Molded inserts strengthen high-stress areas. They also reduce shrinkage porosity around the insert site. That makes them perfect for bearing chambers and sealing threads. These critical features need a solid, leak-free structure. A molded insert gives you that.
HELICOIL cast molded inserts are made for cast aluminum. They meet tight tolerances. Nut threads hold a 6H tolerance. Bolt threads hold a 6g tolerance. Other dimensions stay within plus or minus 0.25 mm. These tolerances make sure of a precise fit every time.
Threaded inserts work with many materials, including light metals and castings. That wide compatibility makes them a flexible choice for your design.
Heat-set inserts use a different method. You heat the insert before you install it. The hot insert melts the aluminum around it as you press it in. The metal then cools and shrinks around the insert. This makes a tight grip. Heat-set inserts work well in post-casting operations. You avoid the complex step of placing inserts in the mold.
Material compatibility is still critical for all insert types. A mismatched pair can fail over time. You must check that the insert and the casting work together. Stainless steel in aluminum is a common and effective pairing. The metals work well together under load and temperature changes.
Choose press-fit or self-tapping inserts for standard mounting holes. Choose molded-in inserts for high-stress or sealing applications. Match the insert to the job. That step protects your assembly from failure.
Preparing the Die Casting for Installation
Cleaning and Inspecting the Hole
You must clean every hole before you install any insert. As-cast holes carry mold release agents, aluminum dust, and cutting fluid. Drilled holes hold metal chips and burrs. These contaminants stop the insert from seating fully. They also weaken the mechanical lock between insert and casting. Blow out the hole with clean compressed air. Then wipe the bore with a lint-free cloth and a safe solvent. Let the hole dry completely. Any leftover solvent can trap gas or reduce friction during pressing.
Inspection matters just as much as cleaning. Look inside the hole for porosity, cold shuts, or cracks. These defects lower the pull-out strength of the insert. A porous wall can crumble under load. Use a borescope or a bright light to check deep holes. Reject any casting with visible voids near the insert site. A weak hole will fail no matter how well you install the insert.
Drilling and Tapping Pilot Holes
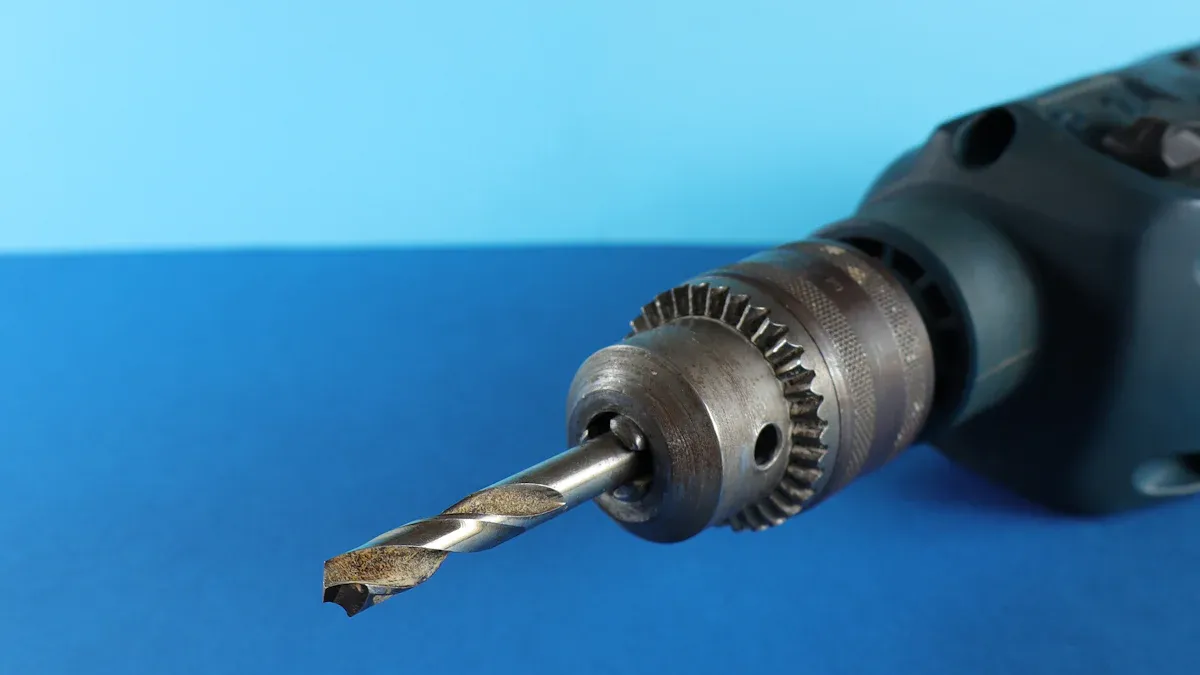
Different insert types need different hole preparations. Press-fit inserts require a straight, reamed hole with a tight tolerance. The hole diameter must match the insert's specified size. A hole that is too large lets the insert spin. A hole that is too small cracks the casting during pressing. Always follow the insert maker's drill size chart. For self-tapping inserts, drill a pilot hole slightly smaller than the insert's outer thread. The insert then cuts its own path into the aluminum.
Tapping applies only to wire thread inserts. Use the correct tap size for the insert. Cut the thread straight and clean. Check the thread depth with a gauge. A shallow thread gives poor holding strength. A crooked thread misaligns the final bolt. For molded-in inserts, you skip drilling and tapping. The mold already holds the insert in place before the pour.
Installing Threaded Inserts: Step-by-Step
Installing Press-Fit and Self-Tapping Inserts
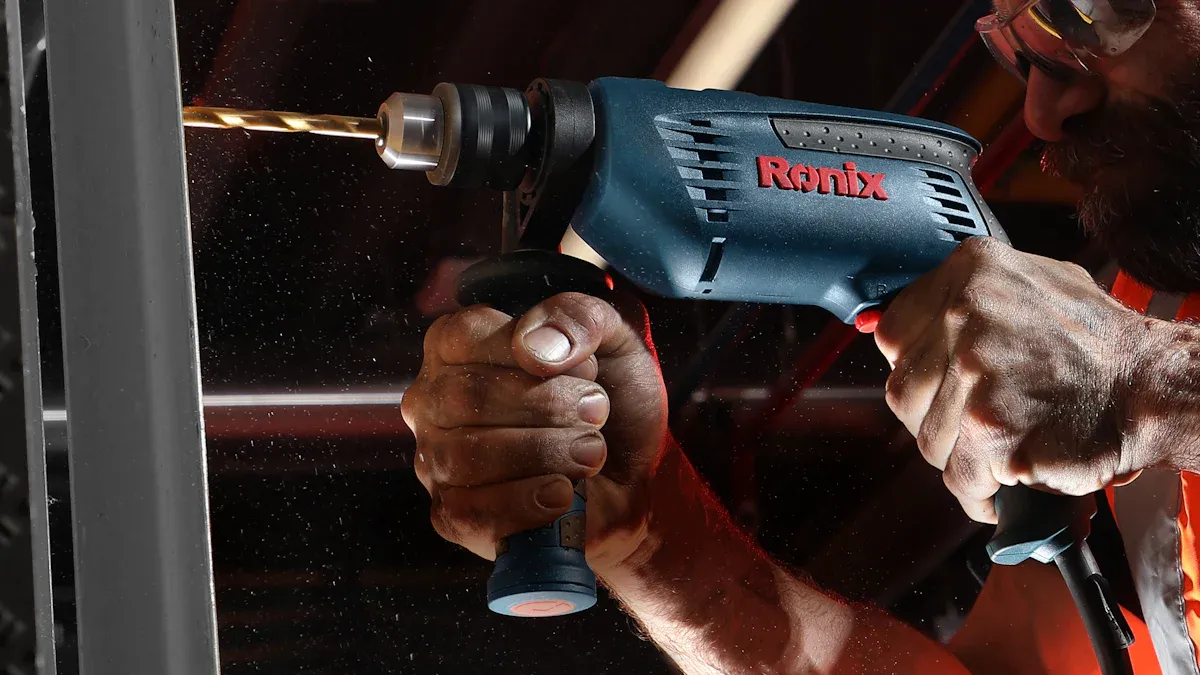
You install press-fit inserts with a standard press. First, place the casting on a flat, stable surface. Align the insert with the prepared hole. The insert must sit straight. A tilted insert will not seat fully and will weaken the joint. Next, apply steady pressure with the press. The insert moves into the hole. The coarse knurling on the outside bites into the aluminum wall. This action locks the insert in place. You feel the press reach a firm stop when the insert bottoms out. Do not hammer the insert. Hammering can crack the casting or deform the insert head.
Self-tapping inserts work differently. You drive them into a pilot hole with a screwdriver or a powered driver. The insert cuts its own threads as it turns. This action forms a tight fit between insert and aluminum. You skip the separate tapping step. The insert must go in straight. A crooked start ruins the thread and weakens the hold. Turn the insert until its head sits flush with the casting surface. Do not over-drive the insert. Too much force can strip the newly cut threads.
Installing Heat-Set and Molded Inserts
Heat-set inserts need heat before installation. You warm the insert with a soldering iron or a thermal press. The hot insert melts the aluminum around it as you push it in. The metal then cools and shrinks around the insert. This creates a tight grip. You must control the temperature. Too much heat warps the casting. Too little heat gives a weak hold. Let the insert cool completely before you apply any load.
Molded inserts follow a different path. You place them in the die before the metal pours. The molten aluminum flows around the insert during casting. This bonds the insert to the casting during the pour. You avoid all post-casting installation work. Molded inserts reinforce high-stress areas and reduce shrinkage porosity. They suit bearing chambers and sealing threads.
Your CNC capability supports these steps. Precision machining prepares holes, cuts threads, and finishes insert sites with tight tolerance. This protects the fit between threaded inserts and the casting and keeps the insert bore round and true.
After installation, check each insert. Push and pull it by hand. It must not move. Then run a torque test at the specified value. A passing insert holds firm with no spin and no pull-out.
Best Practices and Common Mistakes
Ensuring Proper Hole Size and Alignment
You must qualify every insert location before you drill or press. Check these things: position, rotation, exposure, pullout, and torque. Position means the hole sits in the right spot on the casting. Rotation means the insert cannot spin once installed. Exposure means the insert head sits flush or below the surface. Pullout means the insert resists a direct pulling force. Torque means the joint holds the specified tightening value without stripping. Test each of these requirements on a sample casting first. A hole that passes one test may fail another.
Hole size errors cause most insert failures. A hole that is too large lets the insert spin under load. A hole that is too small cracks the casting during pressing. Always follow the insert maker's drill size chart. Check the hole diameter with a pin gauge or a bore micrometer. Alignment matters just as much. A tilted hole misaligns the final bolt. It also weakens the mechanical lock between insert and aluminum. Use a drill guide or a CNC machine to keep the hole straight. Precision hole preparation keeps the bore round and true.
Avoiding Over-Torque and Material Damage
Over-torque is the most common mistake. You tighten the bolt too much. The thread strips. The casting cracks. The insert pulls out. Always use a calibrated torque wrench. Stop at the specified value. Do not guess. Do not add extra force to feel safe. Aluminum is soft. It cannot take the same torque as steel. A stripped thread ruins the whole casting. A cracked casting means scrap.
Use insert casting only when volume and function justify it. Do not add threaded inserts just to remove a tapping operation. That adds cost without real benefit. Choose cast-in inserts for high-stress areas, bearing chambers, and sealing threads. Choose press-fit or self-tapping inserts for standard mounting holes. Match the solution to the job. That step protects your assembly and your budget.
Your success with threaded inserts in aluminum die castings comes down to a key choice. You must pick the right insert type for each job. A press-fit insert works well for a standard mounting hole. A molded-in insert protects a bearing chamber or a sealing thread.
These steps decide the final result. Prepare the hole by cleaning it well and sizing it correctly. Install each insert using the right method. Then tighten every bolt to the specified torque value.
Inserts add cost to your part. But they give you reliability and strength that direct threading cannot match. That difference matters most in high-stress and sealing applications.
FAQ
Can I use press-fit inserts for sealing threads?
Press-fit inserts do not seal against leaks. Use molded-in inserts for bearing chambers and sealing threads. They bond to the casting and reduce shrinkage porosity. That bond keeps fluid and gas from escaping.
Why does my insert spin during assembly?
A spinning insert usually means an oversized hole. The hole must match the insert maker's specified diameter. Check the diameter with a pin gauge before pressing. A hole too large lets the insert turn under load.
Do I need a tapping step for self-tapping inserts?
No. Self-tapping inserts cut their own threads as you drive them into a pilot hole. They skip the separate tapping operation. This saves production time and keeps the thread aligned with the hole.
When should I choose cast-in inserts over press-fit inserts?
Choose cast-in inserts for high-stress areas, bearing chambers, and sealing threads. They offer excellent pull-out strength and leak resistance. Use press-fit inserts for standard mounting holes where cost matters more.
How much torque should I apply to a bolt in an insert?
Follow the specified torque value for your joint exactly. Use a calibrated torque wrench. Over-torquing strips threads, cracks the casting, or pulls out the insert. Soft aluminum needs less torque than steel.
See Also
Understanding How Aluminum Extrusion And Die Casting Processes Operate
A Complete Step By Step Guide For Die Casting CAD Design
Defining Functional Testing Within CNC And Die Casting Operations
Comparing Aluminum And Magnesium Die Casting Materials For Lightweight Engineering
Examining How Thermal Stress Affects Die Casting Dies And Components
About Hunan Puka

Established in 2016 and based in Hunan, China, with a liaison point in Berlin, we are a Tier 2 supplier for the automobile industry. We specialize in the production of customized aluminum die-casting parts designed for machines with a closing force ranging from 280 to 1250 tons, with subsequent manufacturing process CNC machining and surface treatment. Our commitment to quality is reflected in our accredited quality management system, certified by ISO9001:2015 and IATF16949:2016 standards.